
This was quite a weekend of desserts over here. Thursday I made a New York meets DC cheesecake for a dinner party on Friday (there is none left) and yesterday I was reminded by my faithful spouse that I had promised to make a dessert for a Bon Voyage party being held for one of his co-workers. I had, of course, completely forgotten.
Luckily, I had been perusing the internet in search of new dessert recipes to try and modify and had found a recipe for a Frosted Red Velvet Cookie. It looked kind of like Mom’s chocolate drop cookie recipe with the addition of sour cream and red food coloring. I wasn’t sure about frosting the cookies, though. The cream cheese frosting would stick to the bottom of the one on top or get smeared on my shirt or who knows where else. But what if the frosting was contained between two cookies like a sandwich? That could be awesome.
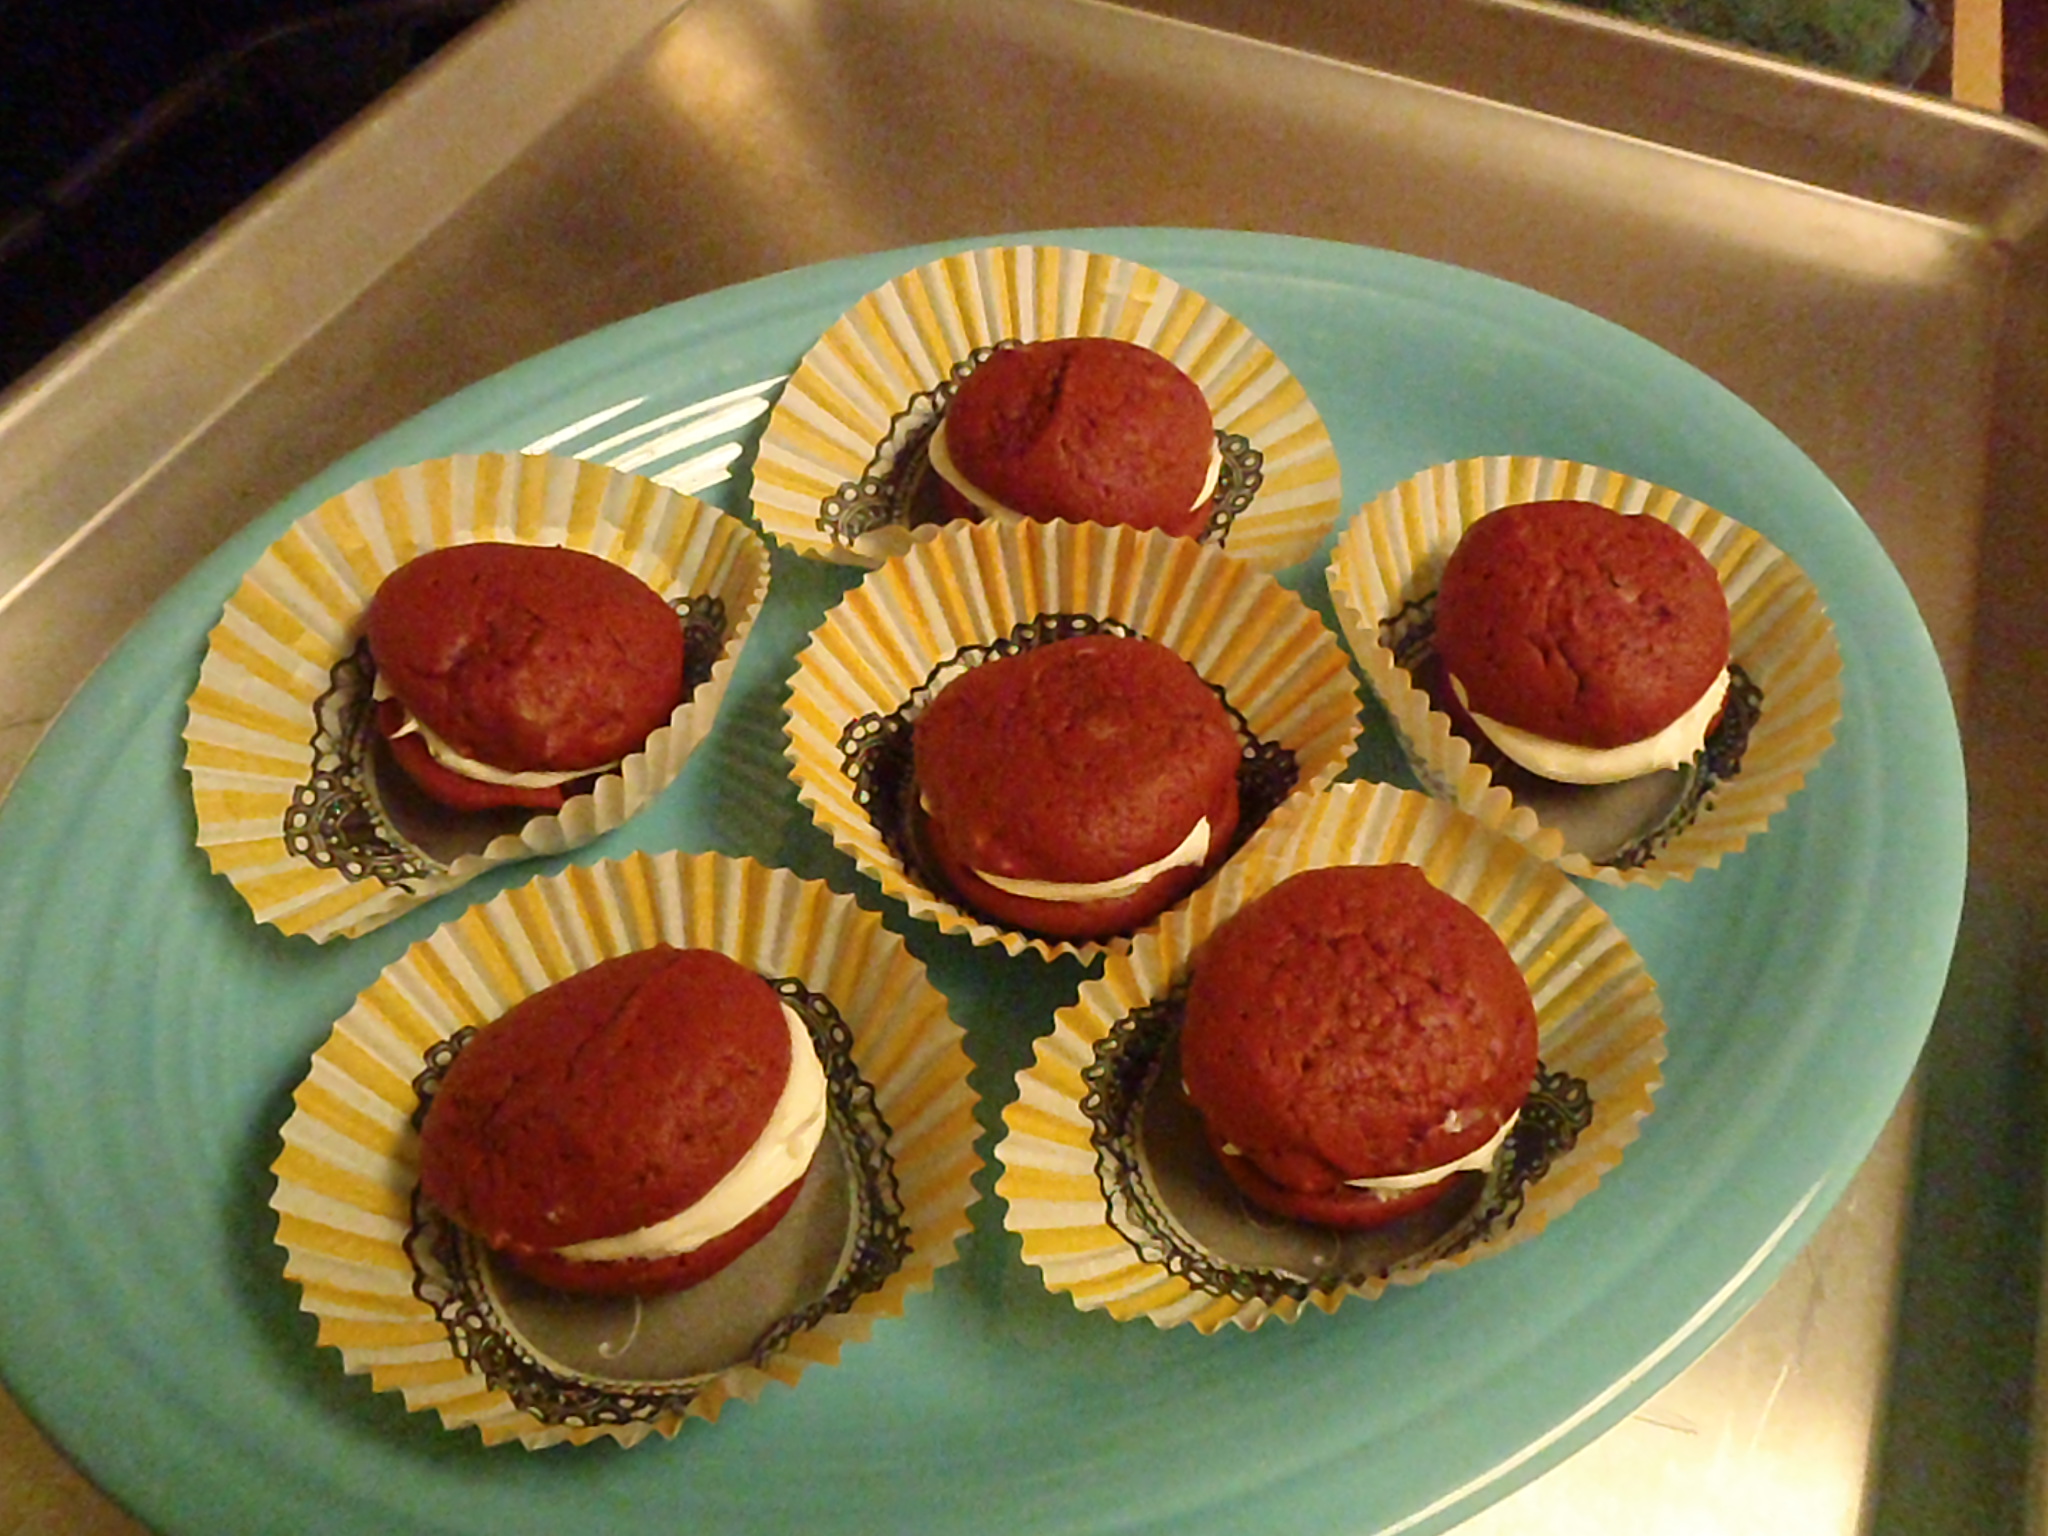
Let me show you the awesome.
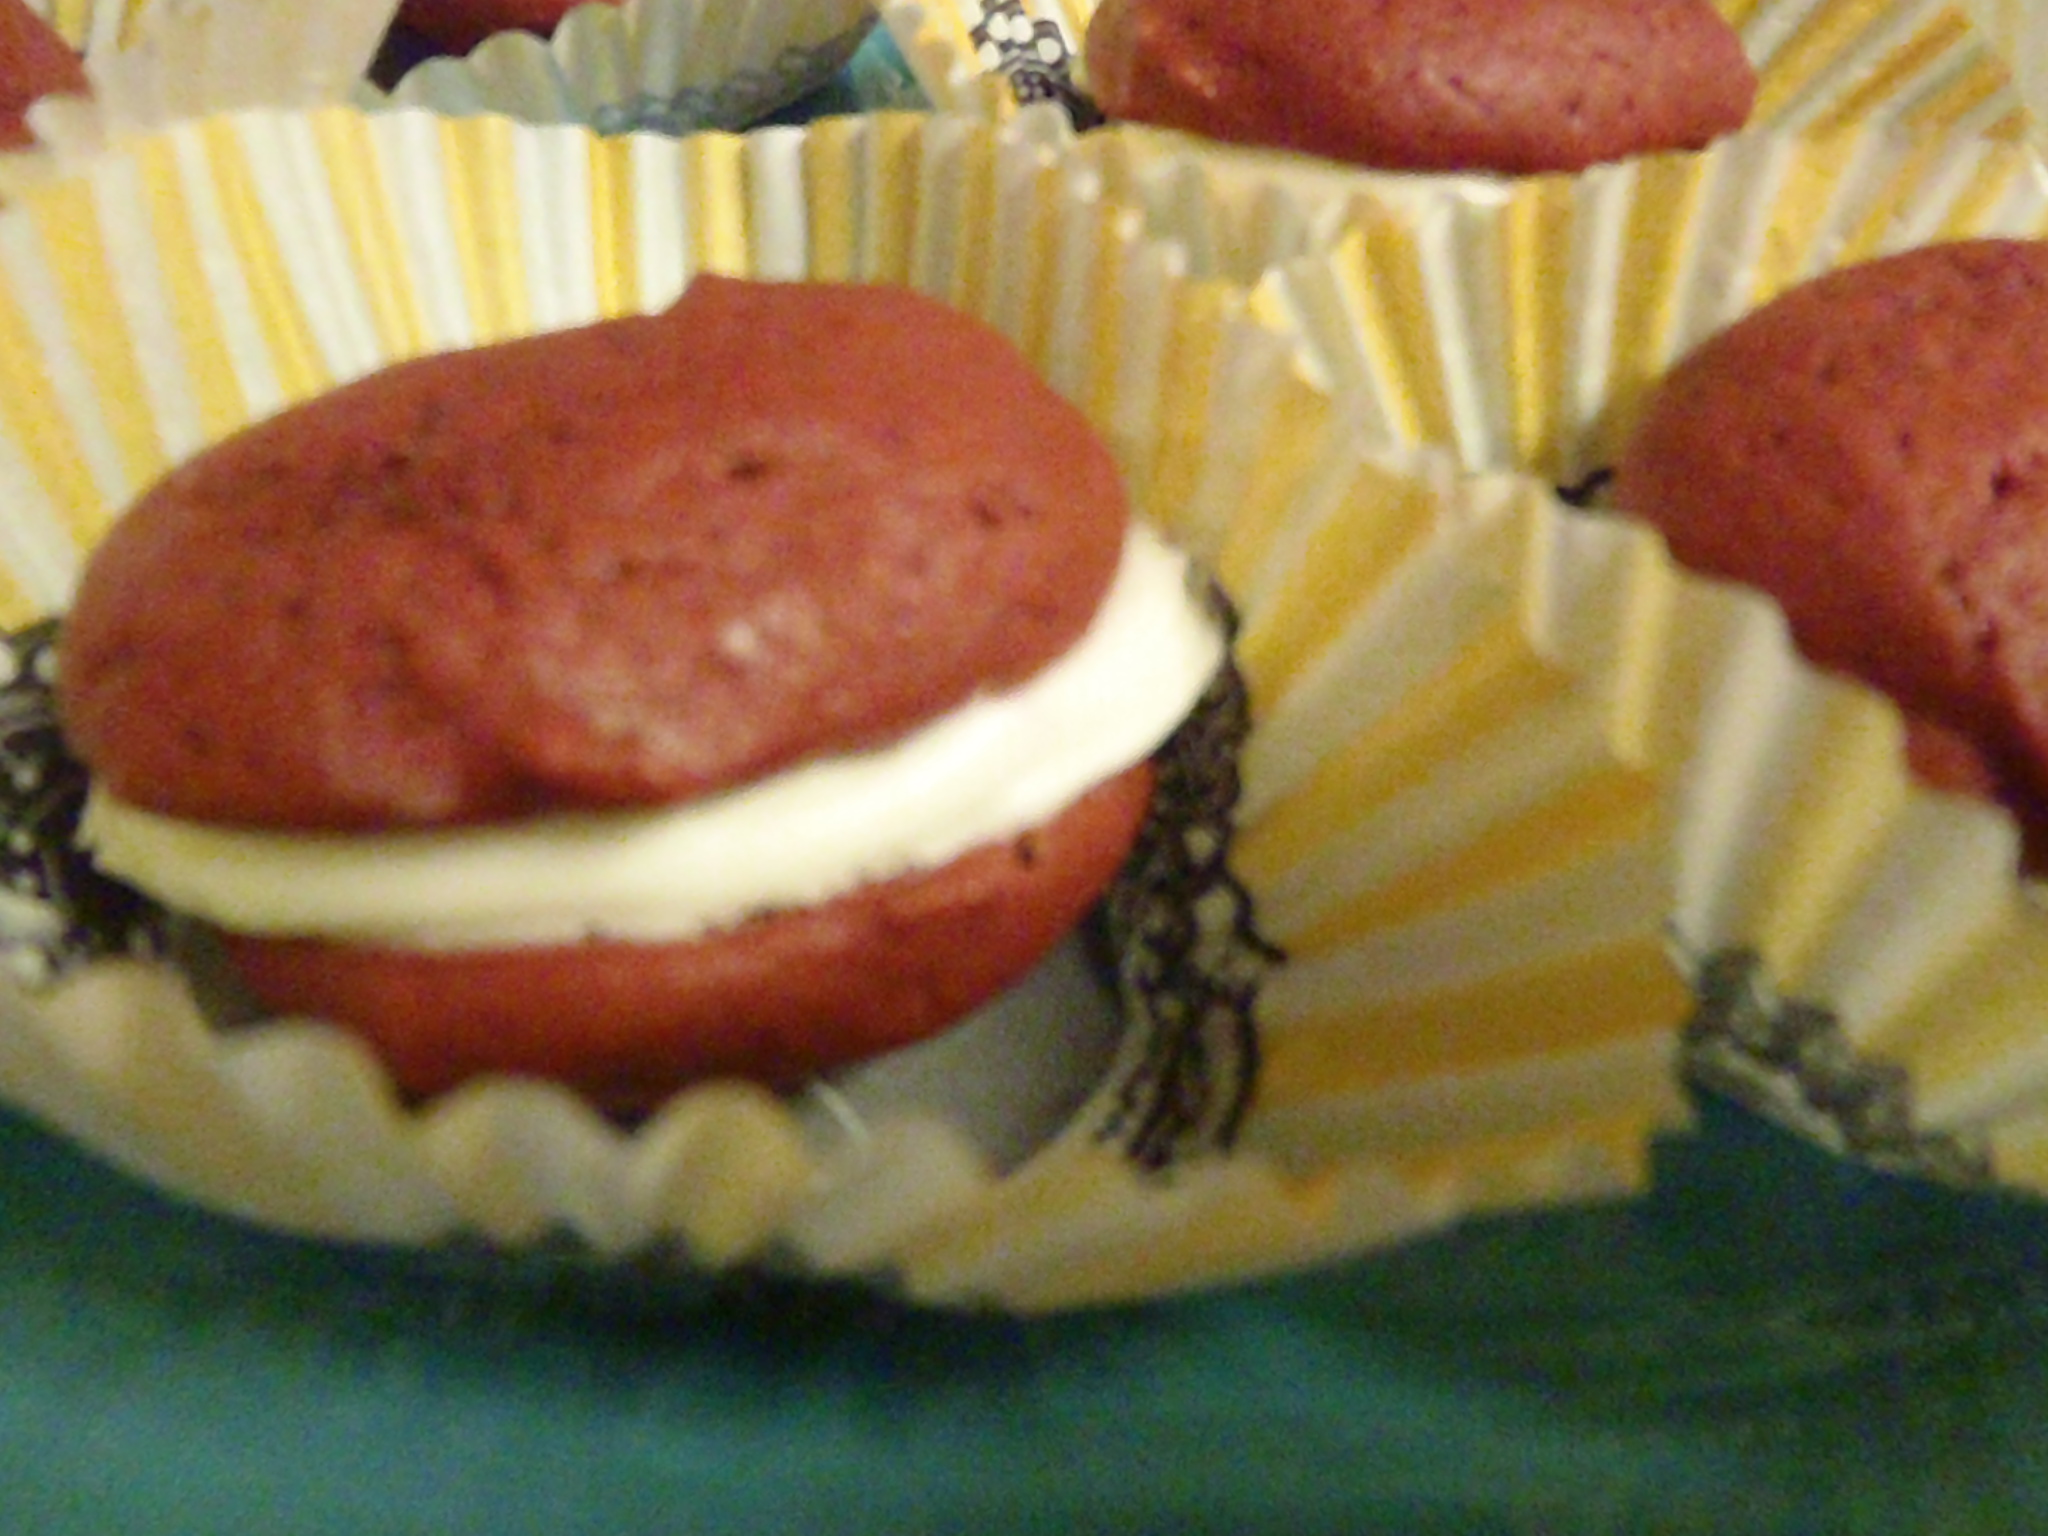
These are perfect for a party. The recipe makes 40 cookie sandwiches that are about 1.5 to 2 inches in diameter and have about 1 to 2 teaspoons of cream cheese frosting. They are contained by these neat little wrappers that the party goers just loved; and which I’ll show you in just a little bit.
It took very little time to cook and assemble. Definitely a bake sale go-to if ever I saw one. Here’s the recipe.
RED VELVET SANDWICH COOKIES
Cookie part
- 2 oz unsweeted chocolate, chopped and melted
- 1/2 cup butter, softened
- 2/3 cup packed brown sugar
- 1/3 cup sugar
- 1 egg
- 1 T red food coloring
- 1 tsp vanilla
- 2 cups flour
- 1/2 tsp baking soda
- 1/2 tsp salt
- 1 cup sour cream
Preheat the oven to 375F.
Have the chocolate melted and slightly cooled. It should be smooth and glossy.
In a small to medium bowl combine the flour, baking soda, and salt. Leave aside.
In your mixer cream together the sugars and the butter until light and fluffy. Add the egg, food coloring, and vanilla and blend well. Beat in the melted chocolate. Alternately add the flour mixture and the sour cream to the red batter; starting and ending with the flour. Scrape down the bowl as needed to ensure it’s all mixed together completely.
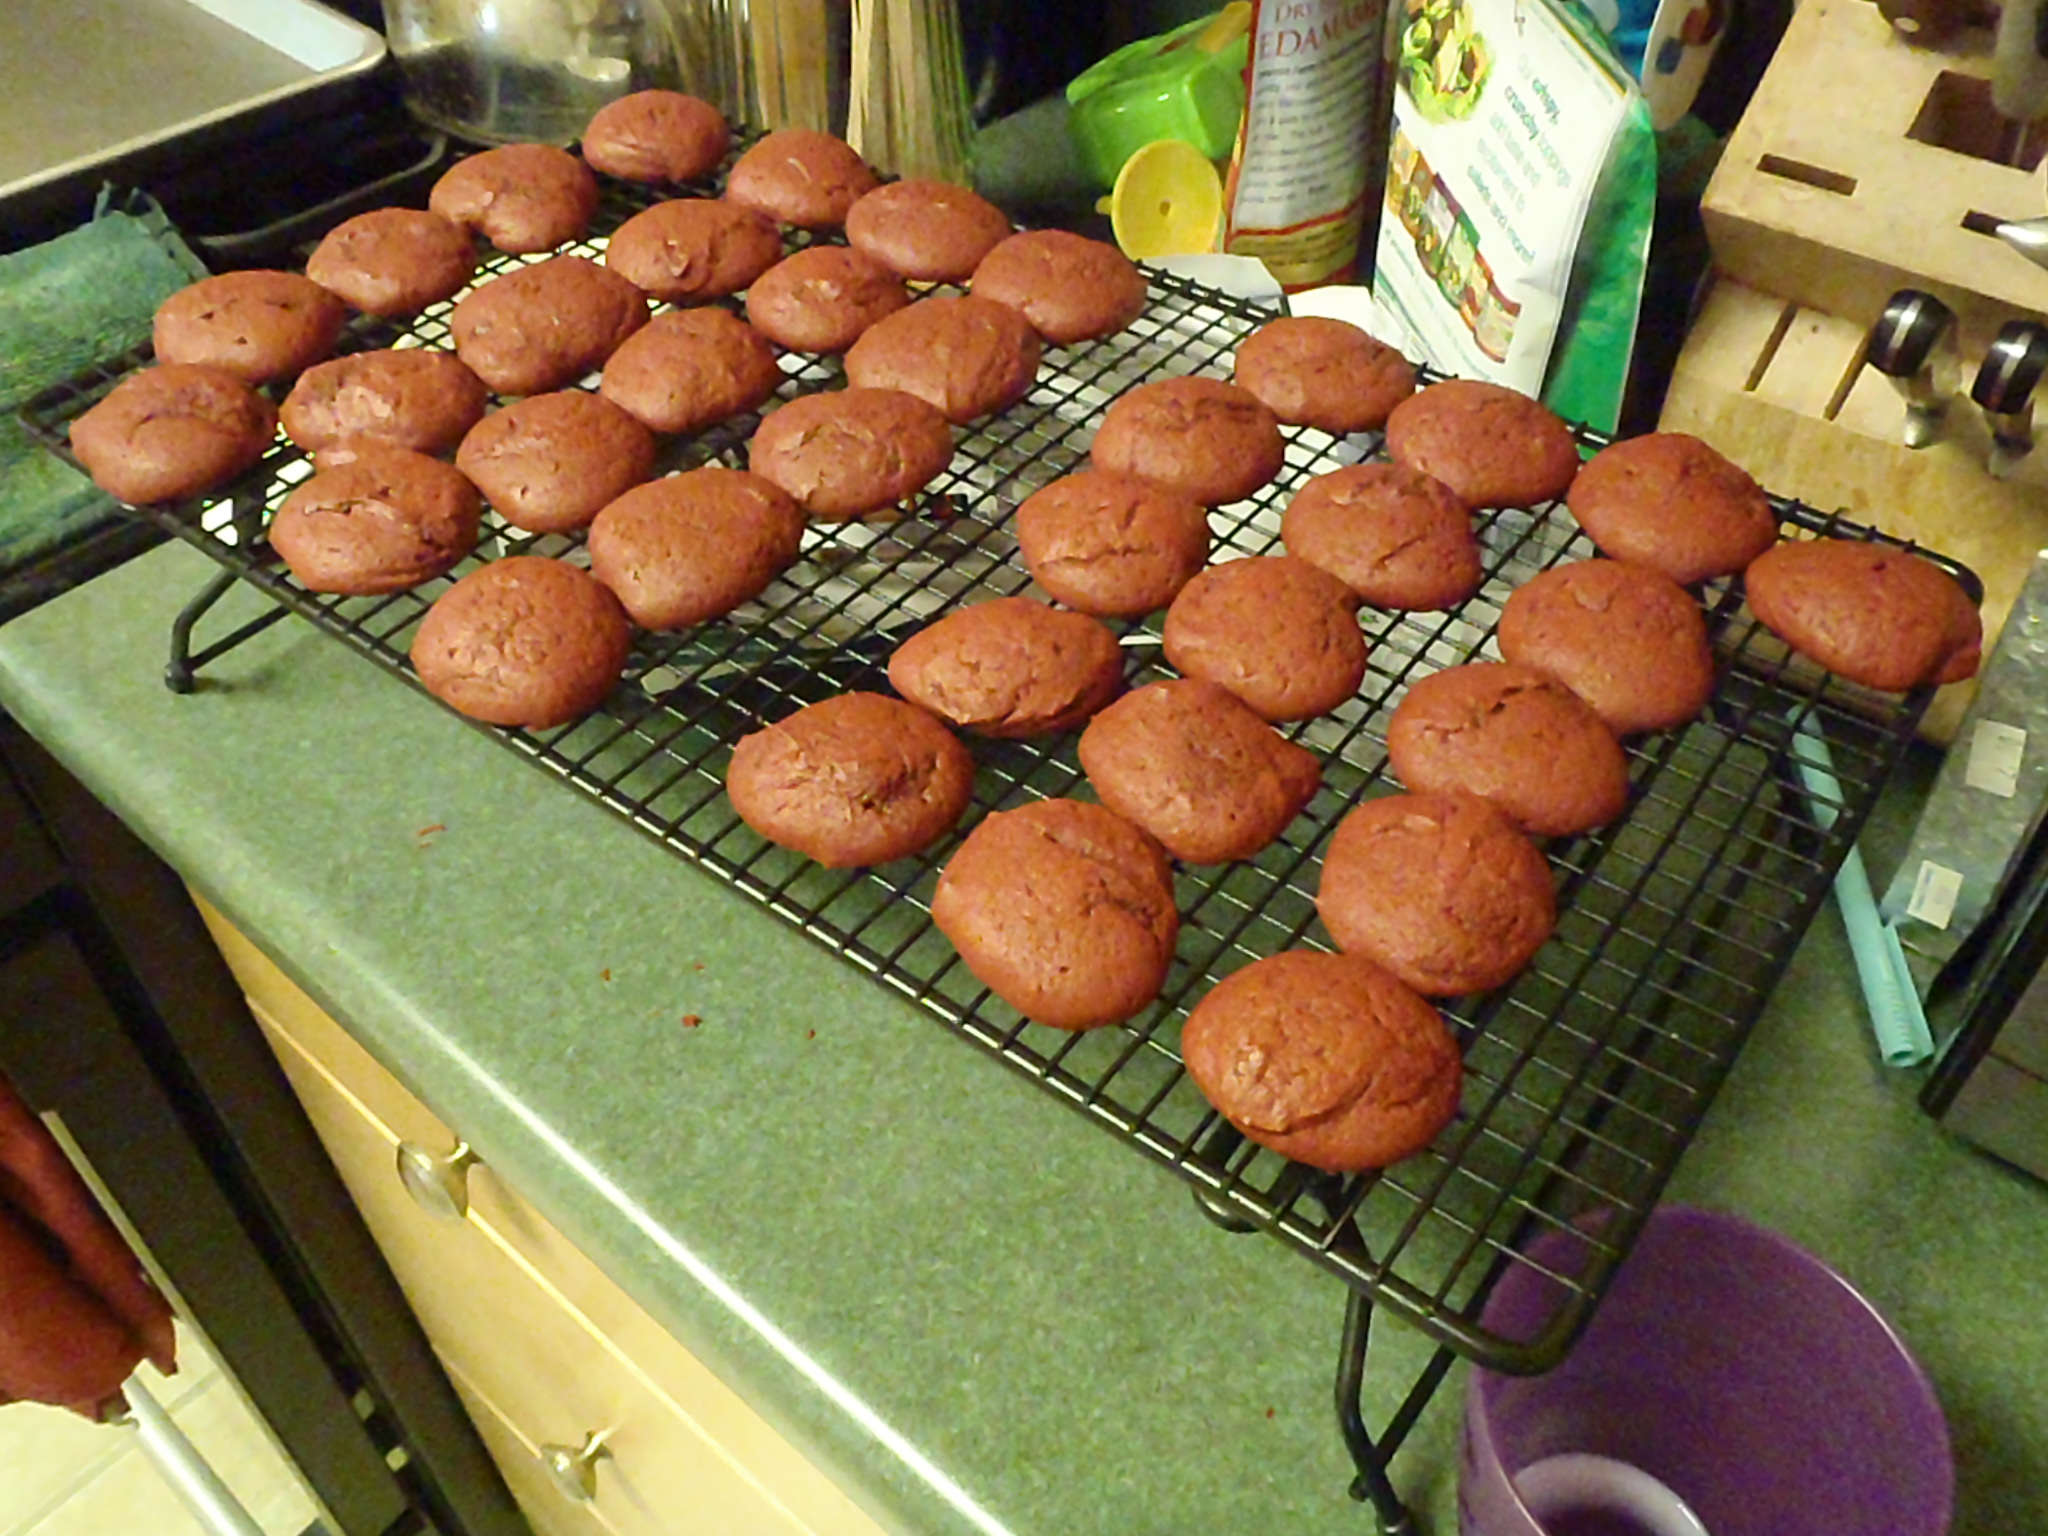
I have one of those handy 1-inch cookie scoops, but if you don’t have one a tablespoon is fine. Just drop the cookie batter in nice balls about 2 inches apart on a cookie sheet lined with parchment paper or a Silpat. The rounder and more consistent size you can make them the nicer your sandwiches will look.
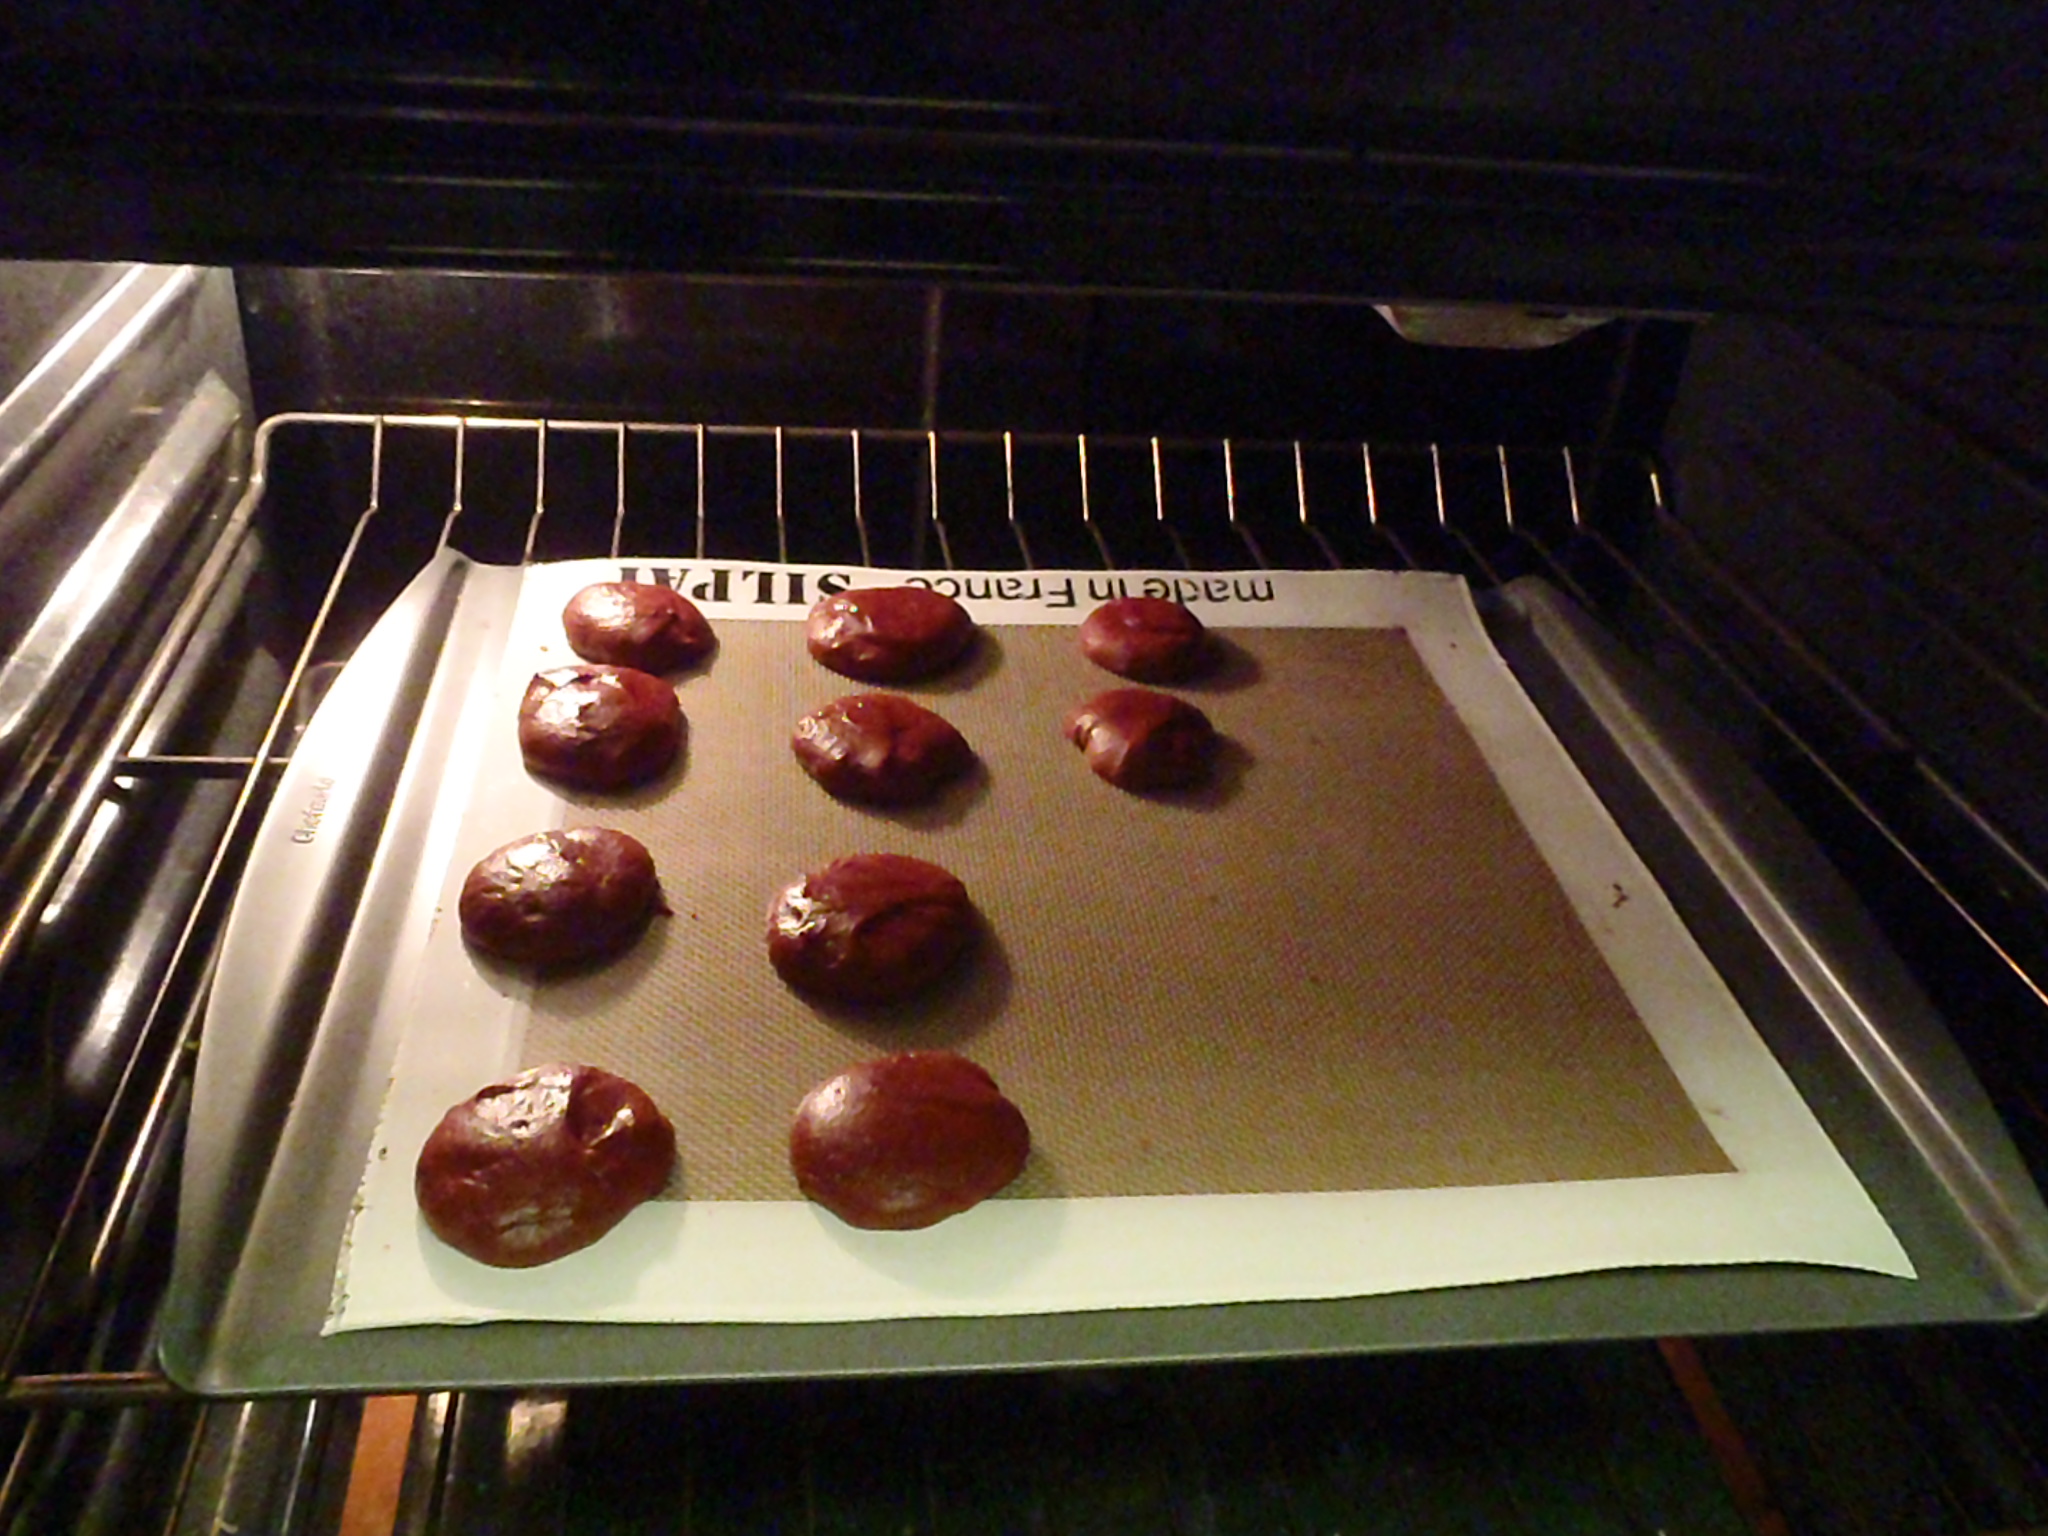
Bake at 375 for 6 – 9 minutes or until set. (I actually baked mine for 9min and 30sec, but that’s just my oven.) They will feel firm and just slightly springy to the touch. They will not be brown.
Cool them on a wire rack until completely cool or your cream cheese frosting will melt.
Now for the frosting. Making your own is easy. 1 8oz block of cream cheese, 1 stick of butter, a cup or so of powdered sugar, 1 tsp of vanilla. Blend it all up in your mixer. Or, as Ina Garten says, “Store bought is just fine.” Unlike Ina, I actually mean it. One can of cream cheese frosting will be more than enough.
Using your butter knife spread about 1-2 teaspoons of frosting on the bottom of one of the cookies. Then top with the bottom of another cookie of about the same size. This is why I used a cookie scoop. All mine were just about the same size and so it was easy to assemble. No hunting for a proper pair.
Pop them in the fridge for about 15 minutes to help the frosting firm up or the frosting might melt. If there are any left after serving, store them in an air-tight container in the fridge.
For cute little wrappers I used some wonderful cupcake wrappers I found at Michael’s for a buck fifty.
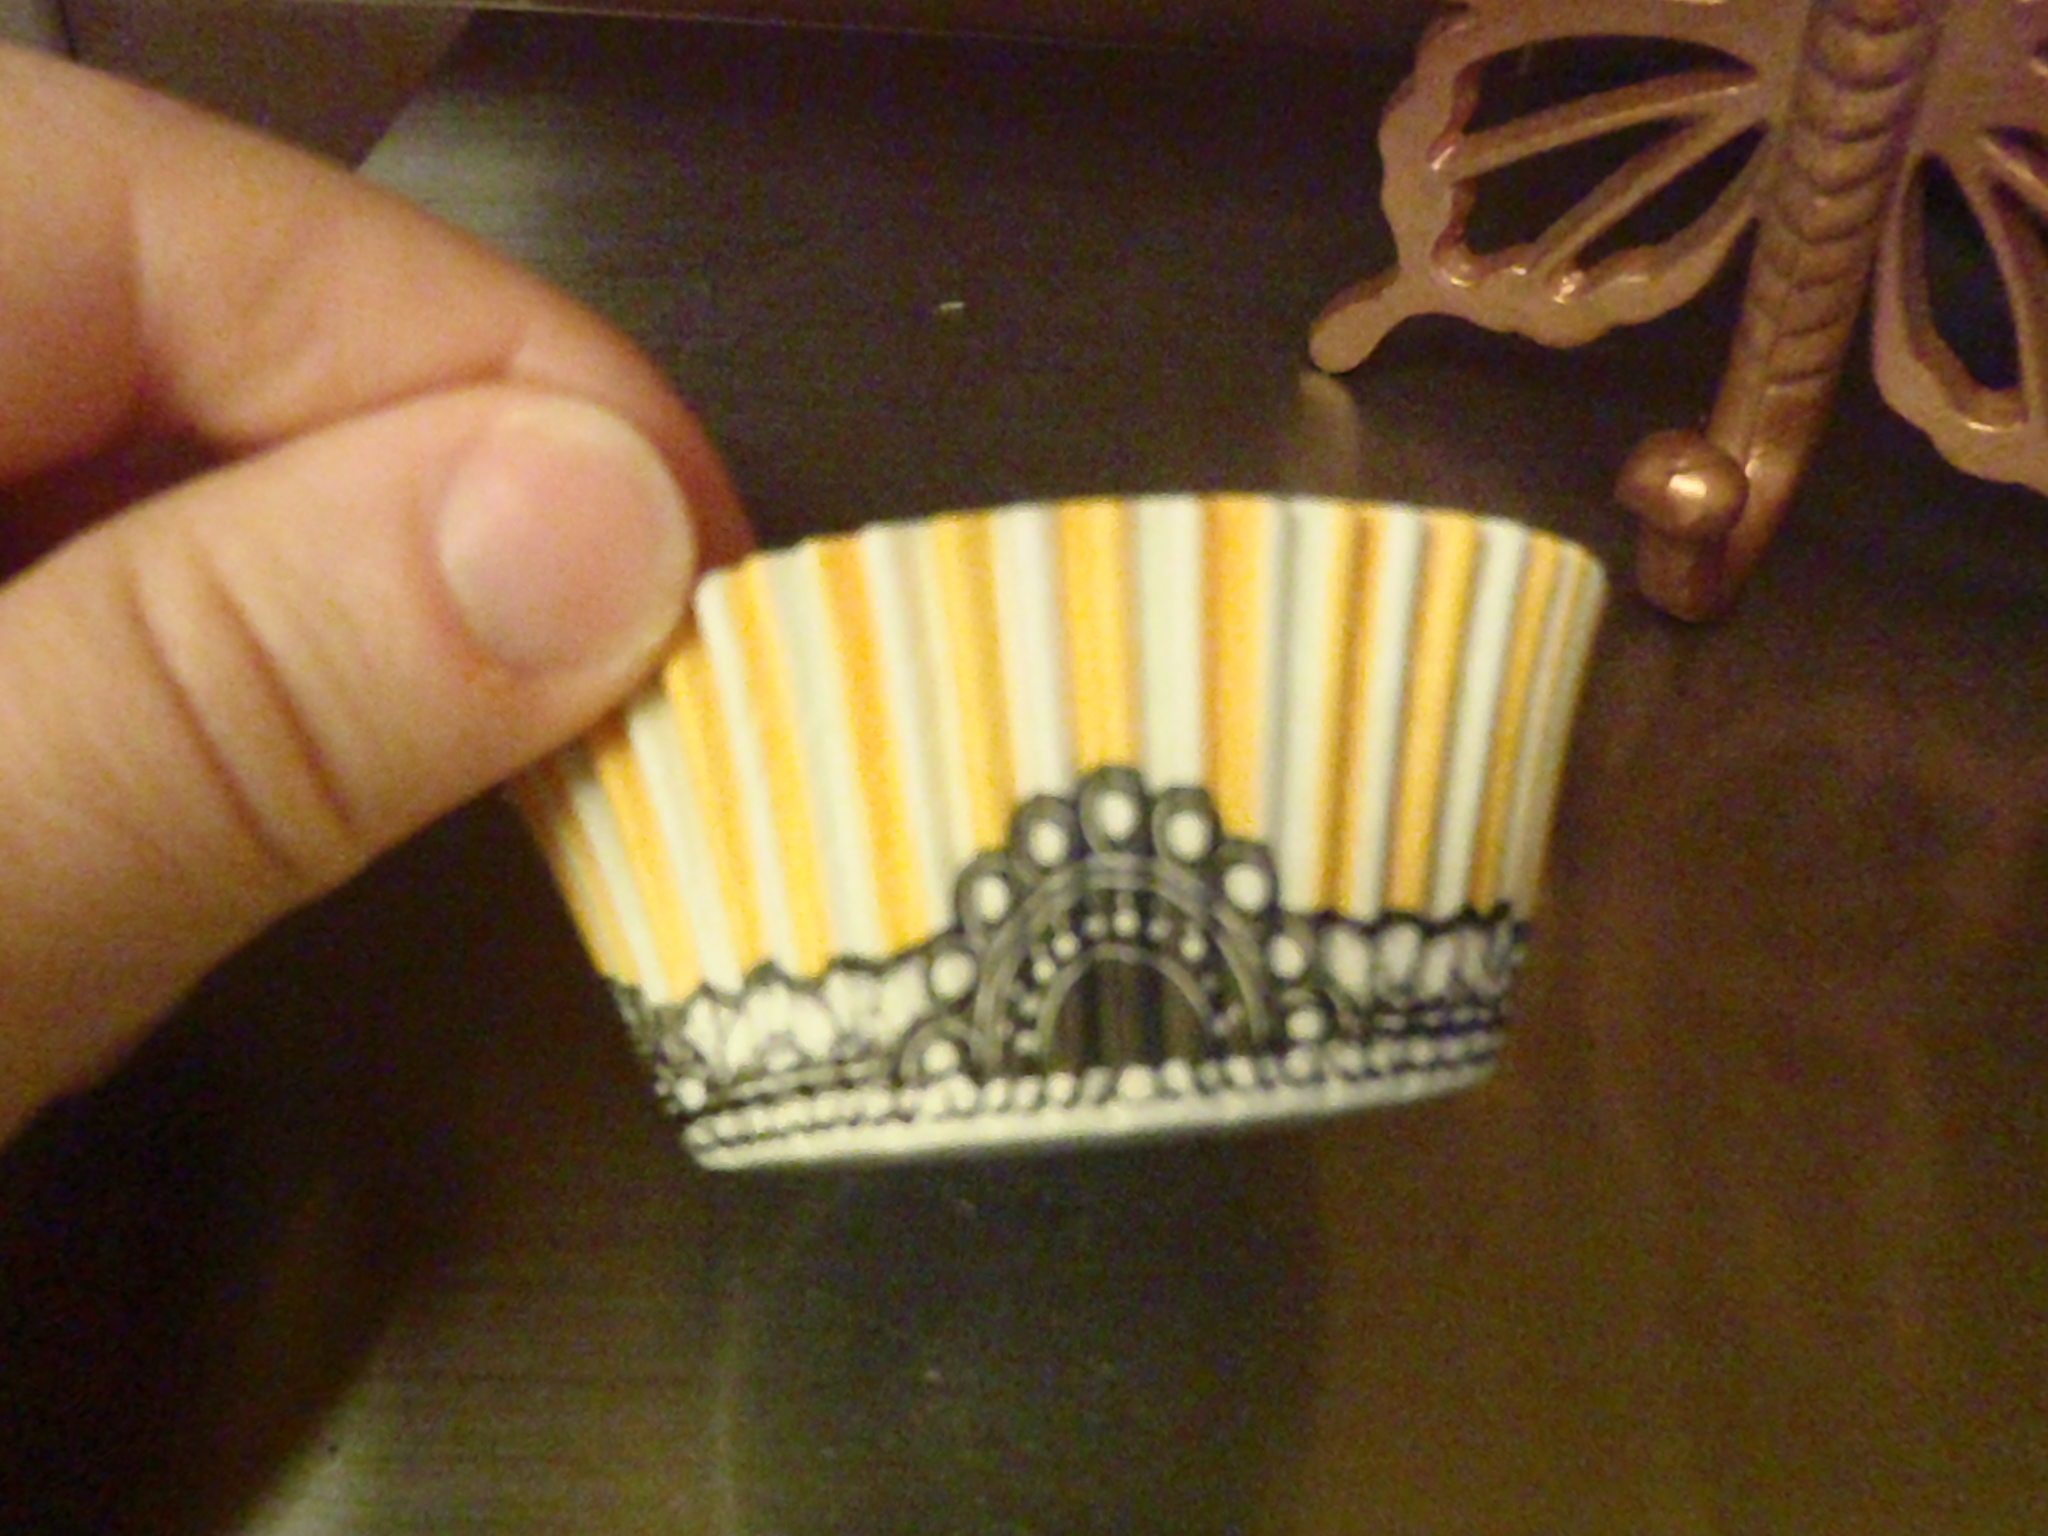
They have a neat message on the bottom and I decided to flip them inside out so that after they ate their cookie the guests would find this…

What better for a going-away party for a friend?
I am definitely making these again. E wolfed down 3 of them at the party after begging for a taste while I was making them. And then after I was making them. And then in the car. And then immediately after we walked in the door at the party. After I stopped him from eating the whole tray he asked if I would make them for his school. And for his birthday.
Then he was scandalized that I left the last three at the party for the other guests instead of taking them home along with our tray.
But he won in the end. He got to go home with the maker of the cookies.
Try these! They are so easy and make you look like a professional baker!

Leave a comment